

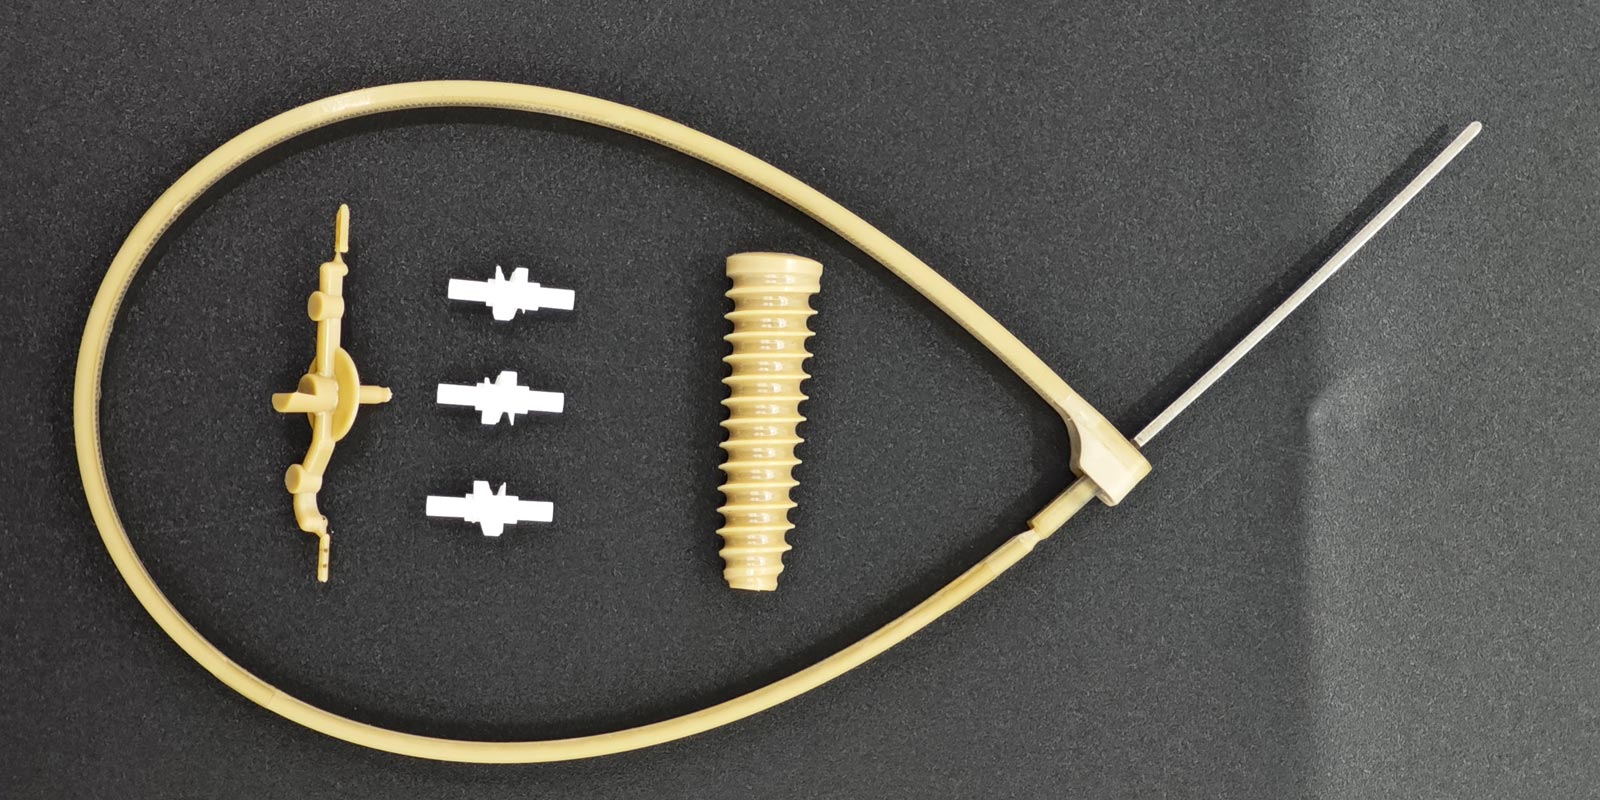
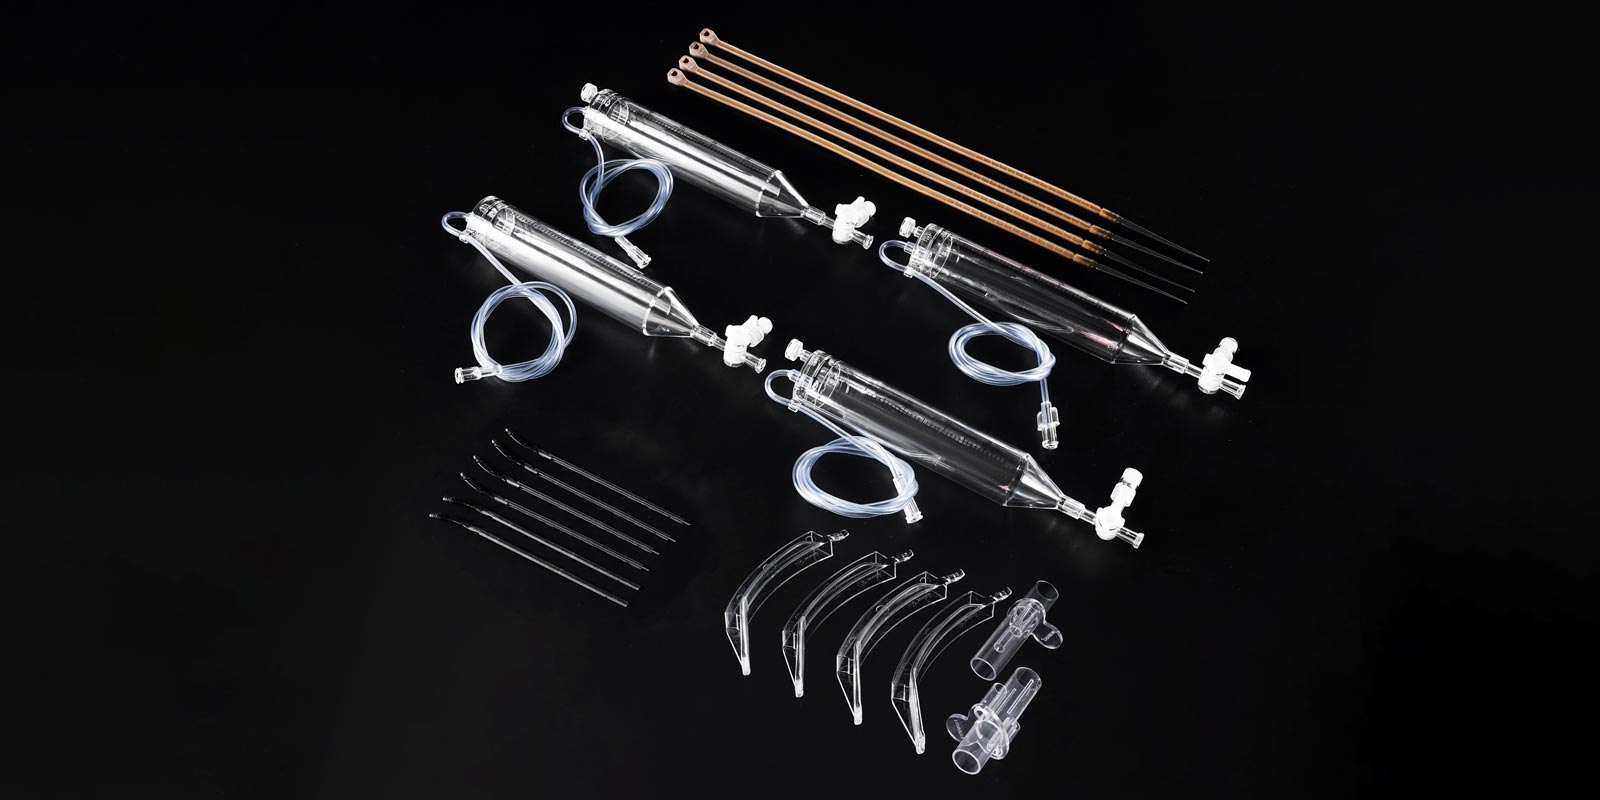
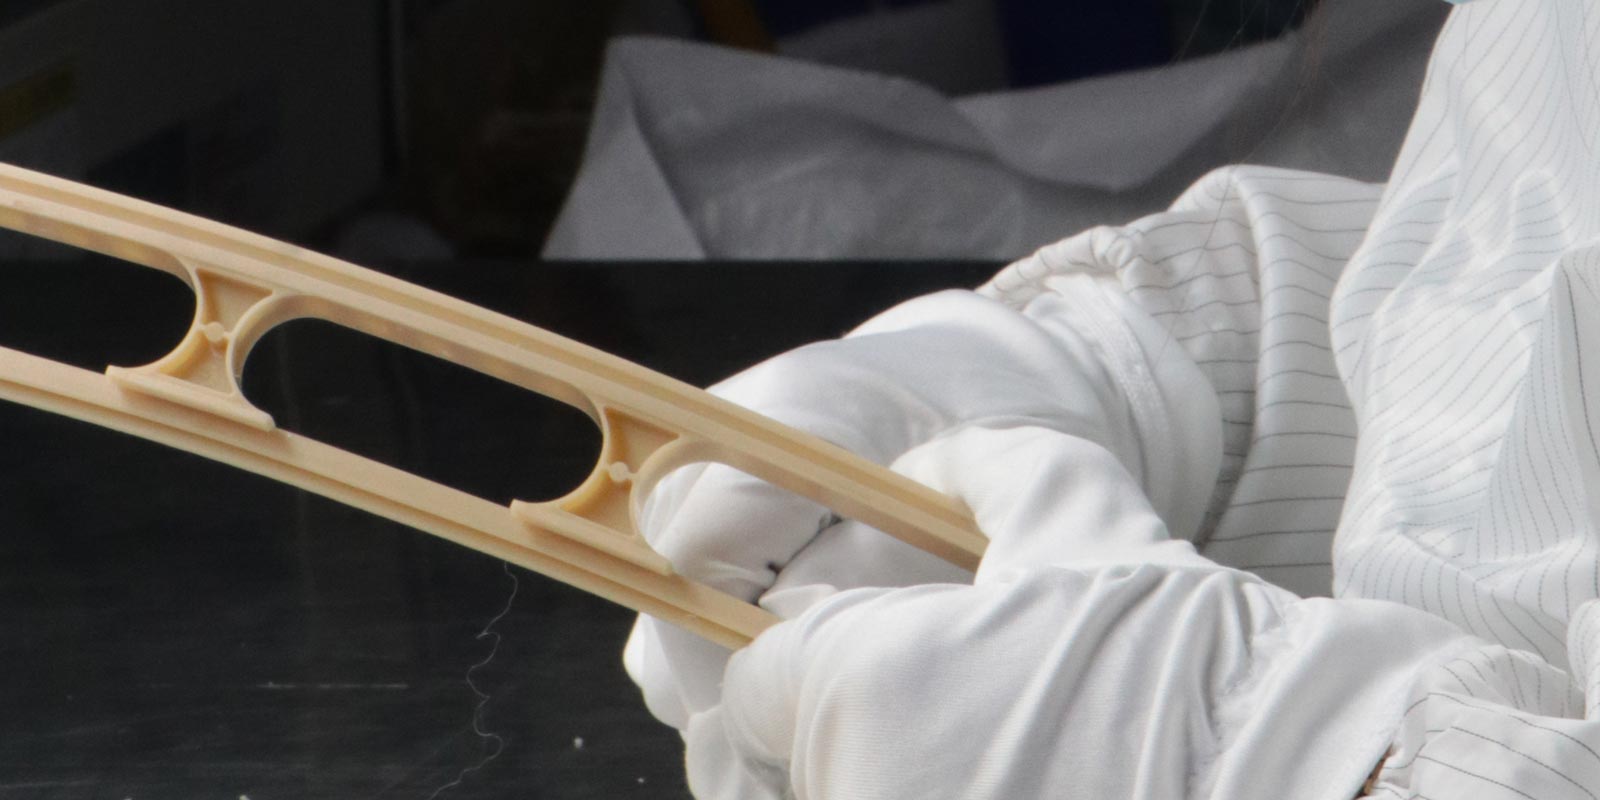
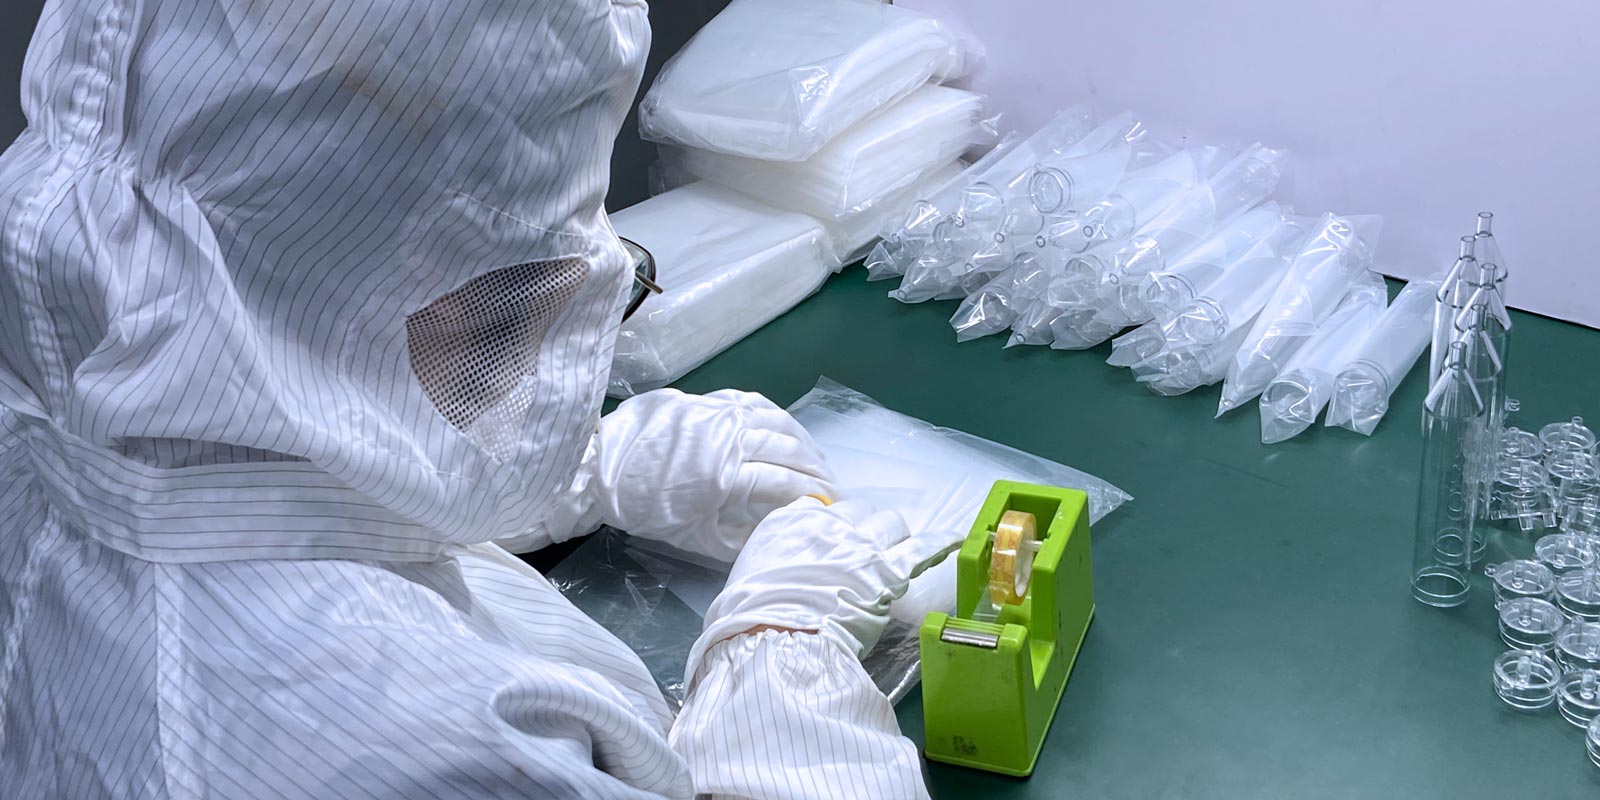
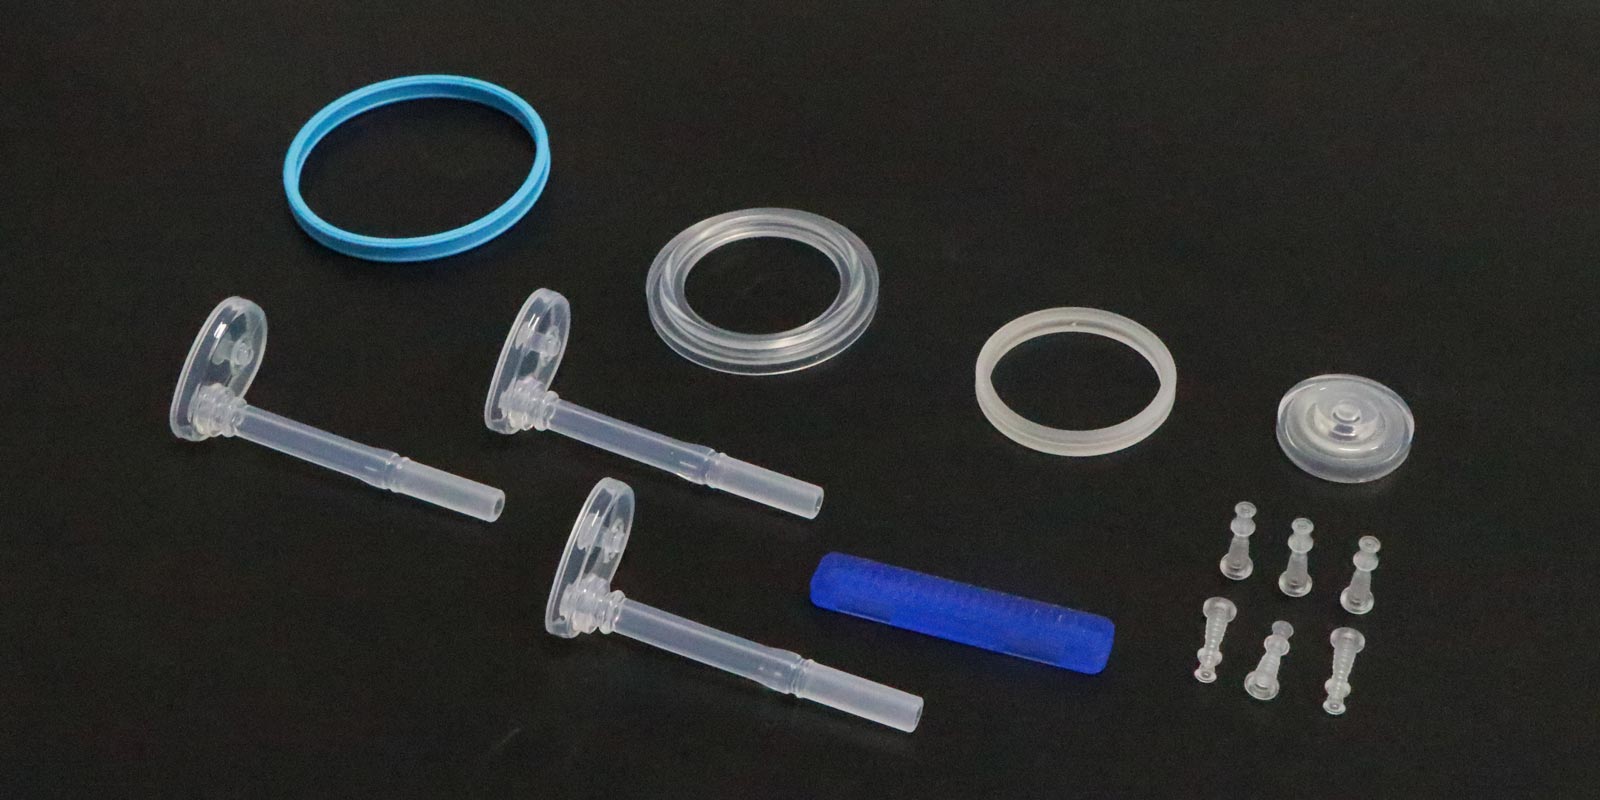



Medical injection molding can be called the crown jewel of manufacturing. The housing of a cardiac pacemaker, the barrel of an insulin syringe — dimensional tolerances are often compressed to a few hundredths of a millimeter. This is not a battlefield that ordinary injection molding can handle; it is an extreme contest of process parameter precision. Get the parameters right, and the product saves lives. Get them wrong, and scrap piles up. So how exactly should medical injection molding process parameters be adjusted?
Medical devices demand extreme precision, quality, and safety. If the precision of mold processing equipment is slightly insufficient, positioning errors and tool wear of CNC machines will all lead to cavity dimension deviations. Even for the same grade of medical injection molding material, different batches may have different shrinkage rates — this is caused by fluctuations in material composition, molecular weight distribution, or additives.
Therefore, the core principle of medical injection molding parameter tuning is only one: adjust one parameter at a time, observe its effect, and avoid adjusting multiple parameters simultaneously, which complicates the problem.
Temperature is the soul of injection molding. The first step of parameter tuning always starts with temperature.
Barrel temperature should be adjusted gradually from low to high to ensure the melt is fully plasticized without degradation. The barrel is generally divided into three to five heating zones, with the zone closest to the hopper set at the lowest temperature, gradually increasing thereafter. The nozzle temperature should be slightly lower than the front-end barrel temperature to prevent drooling. If you have no experience processing a specific grade of plastic, start from the lowest setting.
Mold temperature plays an underestimated role in the appearance, deformation, and dimensions of medical products. PC generally requires above sixty degrees. For PPS, to achieve better appearance and improve flowability, mold temperature sometimes needs to be above one hundred sixty degrees. The coolant temperature should be set ten to twenty degrees below the mold temperature.
Nozzle temperature can be measured with a probe thermometer to get the actual melt temperature. The barrel temperature is only a guiding reference; the actual melt temperature is usually higher than the heater setting, mainly due to frictional heat generated by back pressure and screw rotation.
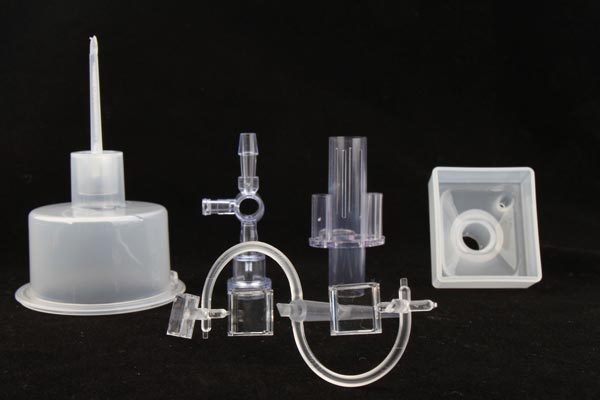
Injection pressure should follow the principle of low rather than high — just enough to provide the required injection speed and allow the melt to fully fill the cavity. Excessive pressure easily causes internal stress in the product. However, when molding medical products with extremely high dimensional precision, high-pressure injection can be used to reduce post-demolding shrinkage. Injection pressure is typically set at the maximum value of the injection molding machine to fully utilize injection speed.
Holding pressure is generally fifty to eighty percent of injection pressure. The purpose of holding pressure is to compensate for shrinkage and prevent melt backflow. Gradually increase holding pressure by about ten megapascals each time until the product weight no longer changes — that is the critical point for the shortest holding time.
Back pressure is recommended at five to twenty megapascals and must never exceed twenty percent of the injection molding machine's maximum injection pressure rating in any case. Lower back pressure is always better — while high back pressure aids color dispersion and plastic melting, it extends screw recovery time, reduces fiber length, and increases stress on the injection molding machine.
Injection speed directly determines product appearance, dimensions, and shrinkage. The scientific speed curve is: slow first — fast — then slow.
Start with a low speed to let the melt pass through the sprue, runner, and gate, achieving balanced filling. Then fill the entire cavity quickly. Finally, use a slower speed to compensate for shrinkage and melt backflow until the gate freezes. This rhythm effectively overcomes defects such as burn marks, flow lines, and sink marks.
The optimization range for injection speed is generally twenty-five to thirty-five millimeters per second. Thin-wall, long-flow products require injection molding machines with high injection speed.
Clamping force must be greater than the total pressure of plastic injected into the mold, based on the principle of no flash at the parting line. The formula is: clamping force greater than or equal to safety factor multiplied by average cavity pressure multiplied by the projected area of the product. The safety factor is generally one to one point two, and the projected area is approximately two tons per square inch or thirty-one meganewtons per square meter. Clamping force should be set low rather than high — excessive force damages the machine and mold.
Cooling time is adjusted according to product wall thickness and mold temperature. Amorphous polymers require longer cooling time than crystalline polymers. It can be estimated starting from ten times the injection time.
Holding time is the minimum of gate solidification time and part solidification time. The shortest holding time can be determined by the curve of part weight versus holding time.
Step one: set plasticizing temperature, starting from the lowest setting and gradually increasing. Step two: set mold temperature according to the material supplier's recommended values. Step three: set the injection endpoint, with a cushion length generally of five to ten millimeters, and the initial position filling two-thirds of the cavity. Step four: gradually increase injection volume to ninety-five percent of cavity volume, then to ninety-nine percent. Step five: gradually increase holding pressure by about ten megapascals each time, while gradually reducing holding time until sink marks appear, then back off slightly — that is the optimal value.
Throughout the entire process, records must be kept. Modern injection molding machines are equipped with recording and computer systems, so every part can be compared with stored reference images. If there is no automatic recording function, complete appropriate record sheets and retain injection-molded samples as references.
When using recycled plastic, the proportion should be controlled between fifteen and twenty-five percent, and dust must be removed first to avoid feed volume differences that cause color distribution deviations.
During shutdown, for heat-sensitive plastics, the injection molding machine must be completely turned off and purged clean. The preventive method is to purge with a thermally stable plastic before heating. Before an overnight shutdown, turn off the bottom platen and barrel heaters, purge the barrel completely, and clean the nozzle thoroughly.
PREV:Why Do Medical Injection-Molded Parts Keep Failing? A Comprehensive Guide
NEXT:Key Points That Must Be Addressed in Medical Injection Mold Design
Add: 62 Jinghai East Road, Chang'an Town, Dongguan City, Guangdong Province
Whatsapp: +86 13342659272
Email: Yuliya.chen@yizemould.com

Add: 62 Jinghai East Road, Chang'an Town, Dongguan City, Guangdong Province
Whatsapp: +86 13342659272
Email: Yuliya.chen@yizemould.com
 Home
Home